Skip to content

Blog

Detecting IP change and updating the DNS for your Homelab without any code

Many people run Homelabs (the author included 😊) which we would like to access from the outside of our network, in order to check DVR, Home Assistant or simply see how is our Homelab is behaving after a big update

Most Internet service providers do not offer a static IP address (or they do for a hefty sum) but rather a dynamic one, which changes randomly

To securely expose your homelab to the internet, there are usually two paths you can take: using a third-party service like Cloudflare Tunnel or setting up your own domain and a reverse proxy like Caddy

Using our own domain gives us full control over our setup, plus the added bonus of not having to deal with third-party services

Using Lepilo, we can handle the problem of our home network IP changing and the DNS of our domain pointing to the previous IP address

Detecting IP Change and Updating DNS

We have recently released Scheduled Flow, which allows you to schedule when a Flow should run: every x minutes/hours/days, on a specific date, or on a specific day.

We have prepared Detecting IP Change and Updating DNS Flow which sets up the tasks you will need

  1. With HTTP request task and Ipify we can detect current IP address Shows "HTTP request" task with name "Fetch current IP
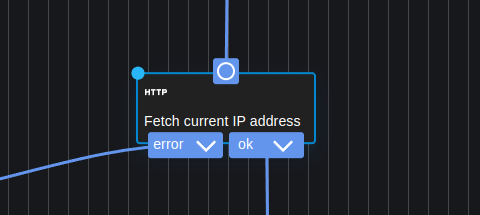
Address"

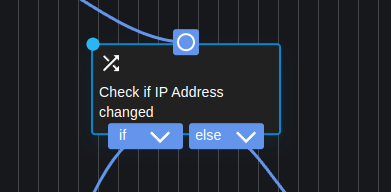
  2. With KV Read and If/Else we can check if the IP address has changed Shows "KV Read" task with name "Get last IP Address" Shows "If/Else" task with name "Update DNS"
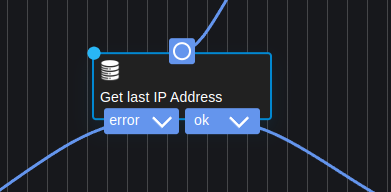
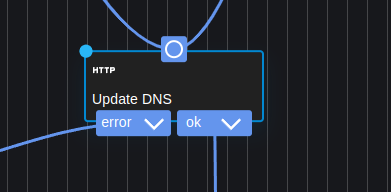
  3. After detecting the IP change, we can update the DNS entry of our domain using an HTTP request
    Please refer to the API documentation of your domain registrar to include the necessary URL, authorization, and other required details
    When developing your Flow, you can use Dev mode to prototype faster Shows "HTTP request" task with name "Update DNS"
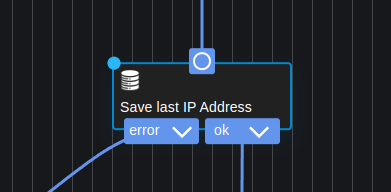
  4. With KV Write we can save the new IP address which will be on the next scheduling Shows "KV Write" task with name "Save last IP address"
    1. Download Lepilo client to your Homelab
      You can also use Packed Client which embeds the Flow inside the Lepilo client
    2. Run your Flow

    Linux/Mac - ./lepilo-client run detecting_ip_change_and_updating_dns.lepilo
    Windows - ./lepilo-client.exe run detecting_ip_change_and_updating_dns.lepilo

Congratulations! Your Homelab now detects automatic IP change detection

Thank you for using Lepilo. Your support means the world to us 🙏

Sending messages to a Slack channel without any code

Get the Webhook URL

  1. Go to Slack apps

  2. Click on the Create an App Shows "Create an App" button under section "Your Apps"

  3. Click on From scratch Shows "From scratch" button

  4. Write the Bot’s name and select the workspace you would like to and click on Create App Shows dialog where you set "App name" and select workspace

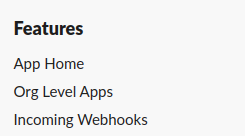
  5. Go to Incoming Webhooks Shows "Incoming Webhooks" which is under "Features" on the left side of the page

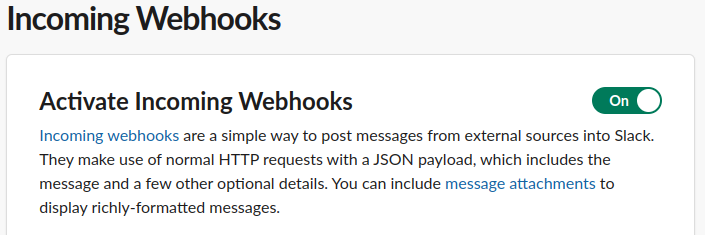
  6. Enable the toggle for Activate Incoming Webhooks Shows "Activate Incoming Webhooks" toggled on which is under section "Incoming Webhooks"

  7. Click on Add New Webhook to Workspace Shows "Add New Webhook to Workspace" which is on the bottom of section "Incoming Webhooks"

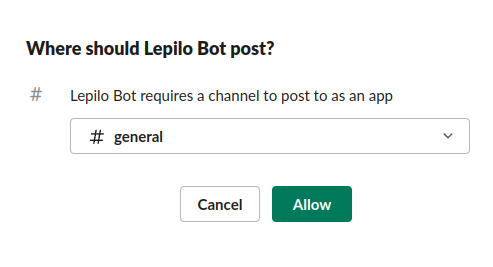
  8. Select the channel to which you would to send message to and click Allow Shows selection of channel for the webhook

  9. Click on Copy to copy the Webhook URL Shows newly created webhook

Setup and Run

  1. Open Slack sent message

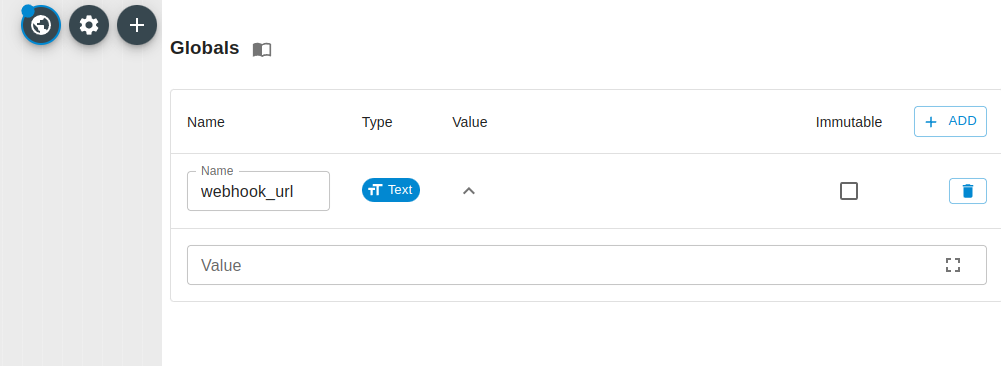
  2. Go to Globals and to the Data with name webhook_url. Set the Value to the one copied from the 5. Click on Copy Webhook URL step Shows opened "Globals" and Data "webhook_url"

  3. Click Run Flow Shows the "Run Flow" button

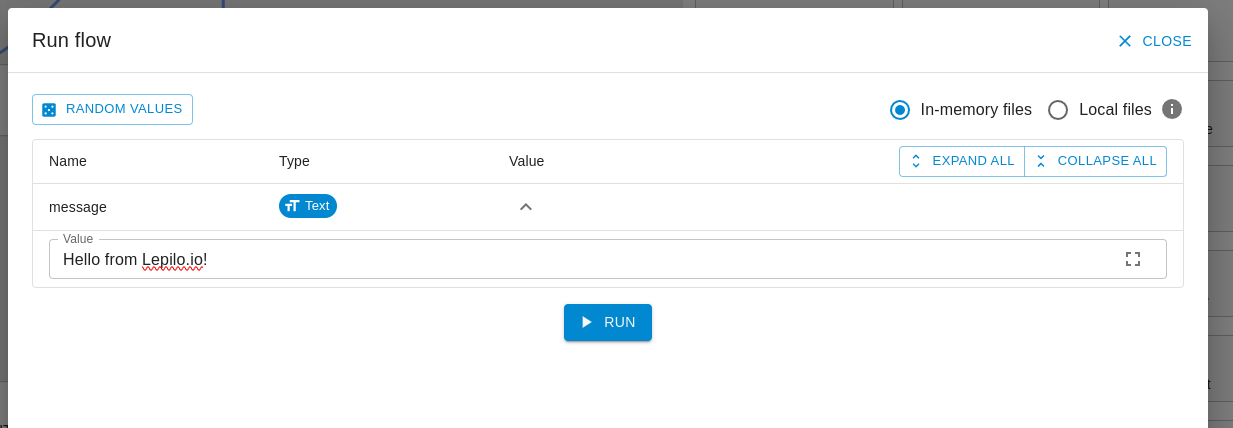
  4. Set your message Shows the "Run Flow" dialog and message set to "Hello from Lepilo.io!"

  5. Click Run and your message should appear Shows the created message in Slack

Thank you for using Lepilo. Your support means the world to us 🙏

Sending messages to a Discord channel without any code

Get the Webhook URL

  1. Go to your Discord Server and find the channel you would like to send messages to

  2. Click on the Settings (the gear on the right) Shows "General" Discord channel and the setting gear

  3. Go to Integrations Shows "Integrations" menu after click the setting gear from the above step

  4. Click on Create Webhook In "Integrations" shows "Create webhook"

  5. Click on Copy Webhook URL Shows newly created webhook

Setup and Run

  1. Open Discord sent message

  2. Go to Globals and to the Data with name webhook_url. Set the Value to the one copied from the 5. Click on Copy Webhook URL step Shows opened "Globals" and Data "webhook_url"

  3. Click Run Flow Shows the "Run Flow" button

  4. Set your message Shows the "Run Flow" dialog and message set to "Hello from Lepilo.io!"

  5. Click Run and your message should appear Shows the created message in Discord

Thank you for using Lepilo. Your support means the world to us 🙏